How to Add and Switch Languages in Ubuntu
Last update: August 16, 2024
If you're working on a multilingual project or simply want to type in different languages on your Ubuntu system, this guide will walk you through the process of adding new language inputs and efficiently switching between them.
Adding a New Language Input
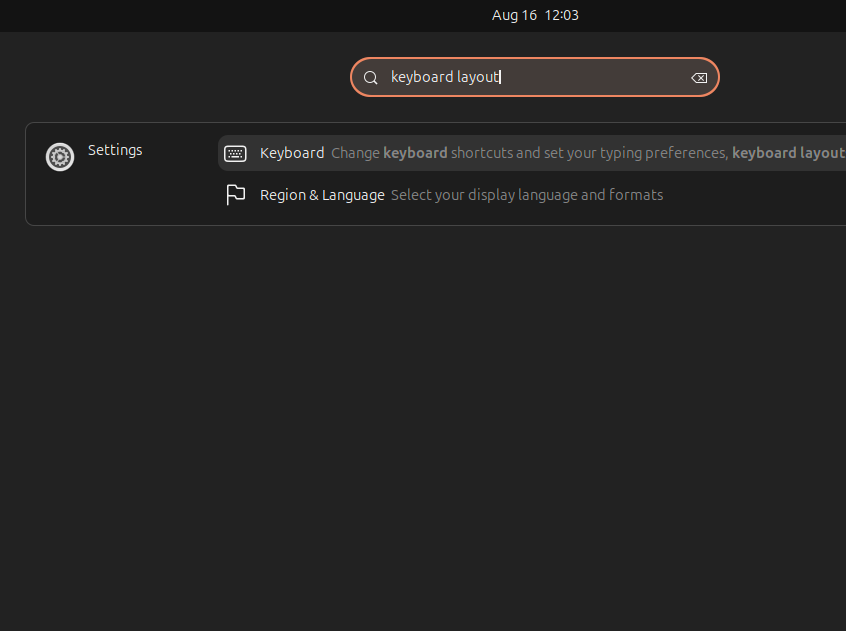
- Open the Settings menu by clicking on the Ubuntu app menu and searching for "keyboard layout." Select "Keyboard"
from the "Settings" category.
- In the Keyboard settings, locate the "Input Sources" group at the top. Click on "Add input Source" to begin.
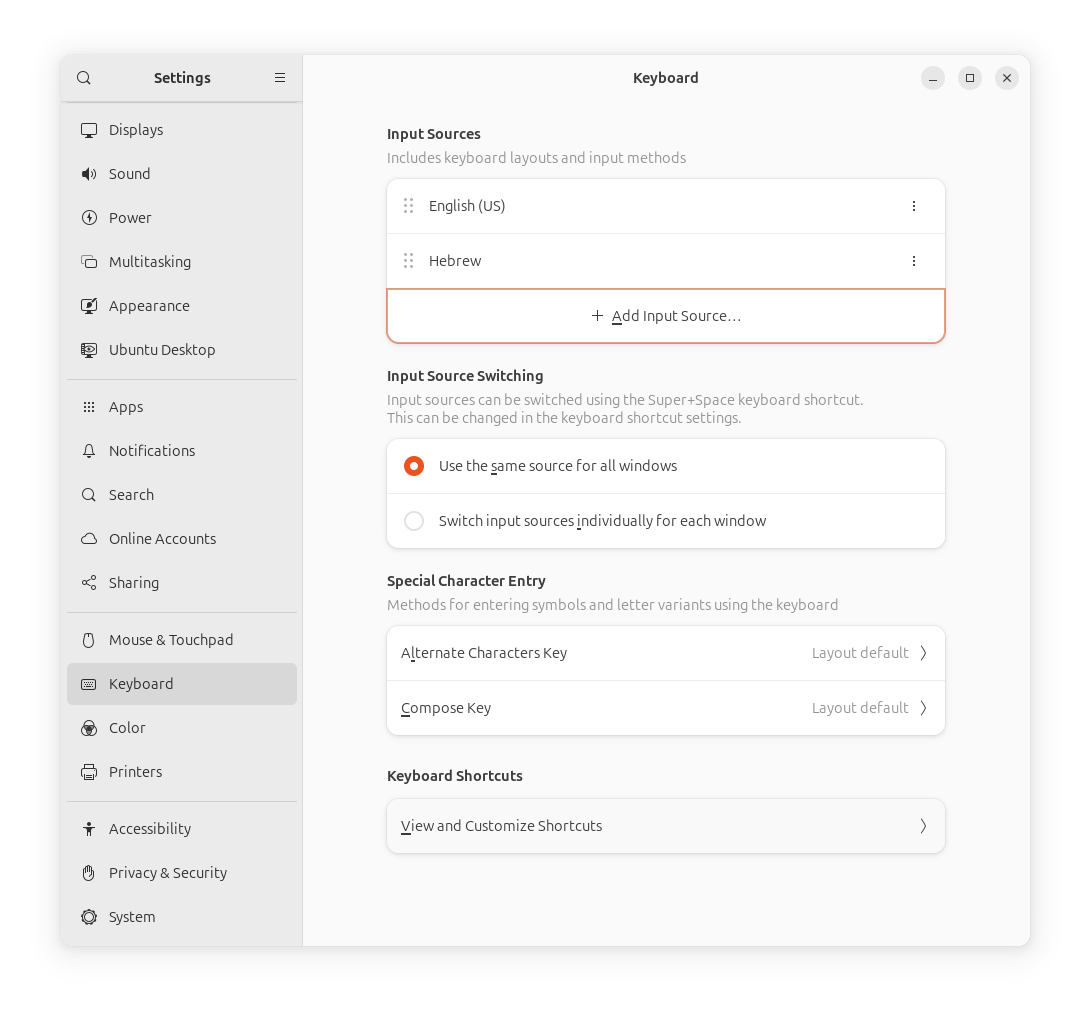
- A pop-up menu will appear, showing options for various English variants. To access more languages, click on the three vertical dots just below these options.
- You'll see another list of English variants. For other languages, scroll down and select "Other" at the bottom of the list.
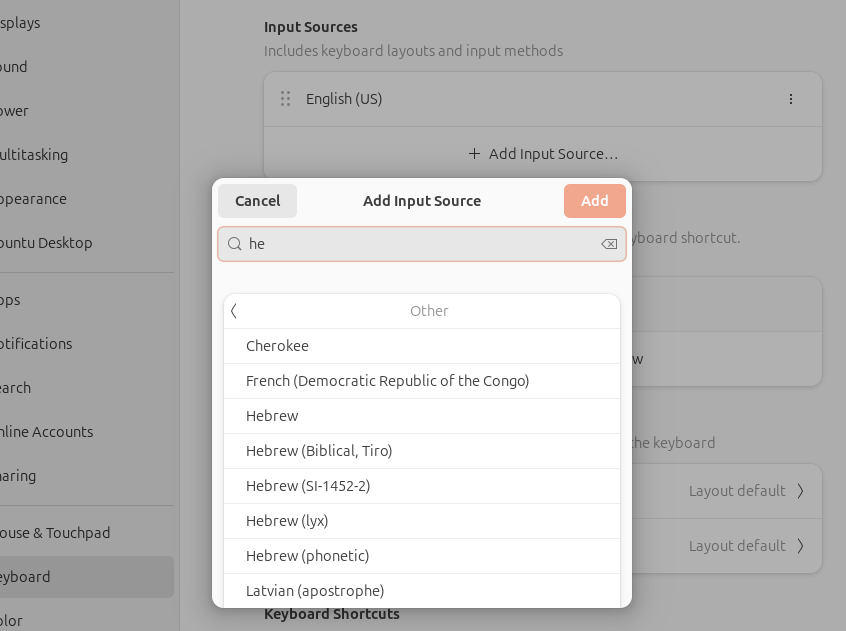
- Now you'll have access to the full language list, containing hundreds of options. Use the search box to filter
or scroll through to find your desired language. Once found, click on it and select "Add."
- An icon representing your newly added language will appear in the top menu bar.
Switching Between Languages
Now that you've added your preferred languages, here are three easy ways to switch between them:
- Top Menu Method: Simply click on the language initials displayed in the top menu. A list of installed languages will appear, allowing you to choose your desired option.
- Keyboard Shortcut Method: By default, use Super + Space to switch to the next language, or Shift + Super + Space for the previous language. (Note: The "Super" key is typically the Windows key on most keyboards.)
- Customizing Keyboard Shortcuts:
- Return to the Keyboard settings (search for "keyboard layout" in the Ubuntu apps menu).
- Scroll down to "Keyboard Shortcuts" and select "View and Customize Shortcuts."
-
Navigate to the "Typing" section.
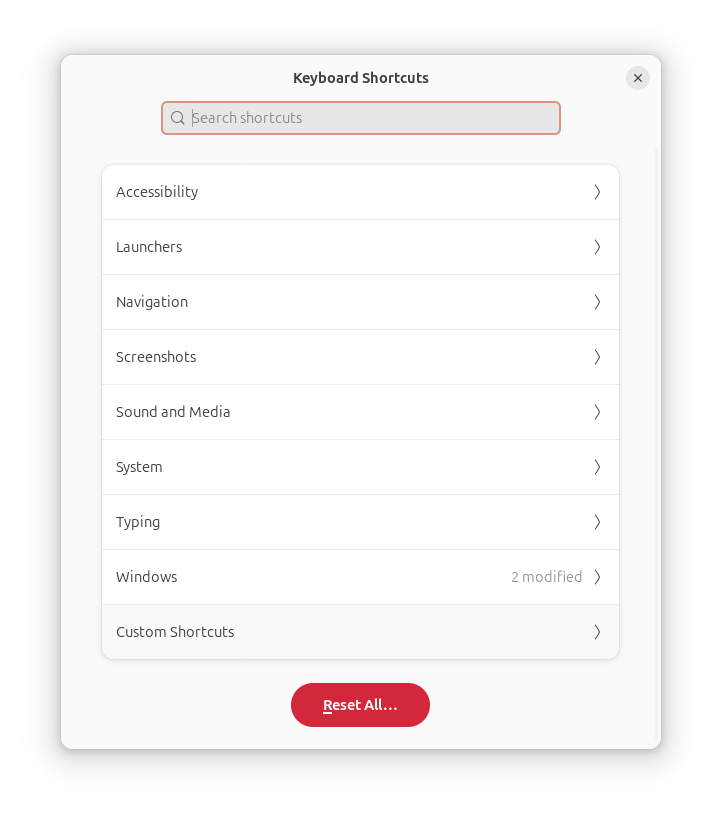
- Look for "Switch to next input source" and click on it. A keyboard image will appear, prompting you to press the keys you want to use for this shortcut.
By following these steps, you'll be able to effortlessly add new languages and switch between them on your Ubuntu system. Happy typing in your language of choice!
