How to Install PostgreSQL 17 and pgAdmin on Ubuntu 24.04
Last update: 10-02-2024
In this tutorial, I'll walk you through the steps to install PostgreSQL 17 and pgAdmin on an Ubuntu 24.04 server. We'll also cover how to set up pgAdmin to connect to your PostgreSQL database and manage it effectively.
Prerequisites
- An Ubuntu server with sudo privileges.
- Access to the terminal or SSH into your server.
Step 1: Install Postgresql 17 and pgAdmin and configure pgAdmin
sudo apt update
sudo apt install -y curl ca-certificates
sudo install -d /usr/share/postgresql-common/pgdg
sudo curl -o /usr/share/postgresql-common/pgdg/apt.postgresql.org.asc --fail https://www.postgresql.org/media/keys/ACCC4CF8.asc

sudo sh -c 'echo "deb [signed-by=/usr/share/postgresql-common/pgdg/apt.postgresql.org.asc] https://apt.postgresql.org/pub/repos/apt $(lsb_release -cs)-pgdg main" > /etc/apt/sources.list.d/pgdg.list'
sudo apt update
sudo apt -y install postgresql
curl -fsS https://www.pgadmin.org/static/packages_pgadmin_org.pub | sudo gpg --dearmor -o /usr/share/keyrings/packages-pgadmin-org.gpg
sudo sh -c 'echo "deb [signed-by=/usr/share/keyrings/packages-pgadmin-org.gpg] https://ftp.postgresql.org/pub/pgadmin/pgadmin4/apt/$(lsb_release -cs) pgadmin4 main" > /etc/apt/sources.list.d/pgadmin4.list && apt update'
sudo apt install -y pgadmin4-web
sudo /usr/pgadmin4/bin/setup-web.sh
During the setup, you'll be prompted to provide an email address and a password. These credentials will be used to log in to the pgAdmin web interface. Make sure you remember them.
Step 2: Set a Password for the PostgreSQL User
By default, PostgreSQL creates a user called postgres without a password. To connect through pgAdmin, you'll need to set a password for this user (Notice that this is a different password than the one we set for pgAdmin):
sudo -u postgres psql
In the PostgreSQL prompt, run:
ALTER USER postgres WITH PASSWORD 'your-password';
\q
Replace your-password with a strong password of your choice.
Step 3: Find Your Server's IP Address
To access pgAdmin, you'll need your server's IP address. Run:
ip a
Note the IP address associated with your network interface.
Step 4: Access the pgAdmin Web Interface
Open a web browser and navigate to:
http://your-server-ip/pgadmin4
You should see the pgAdmin login page:
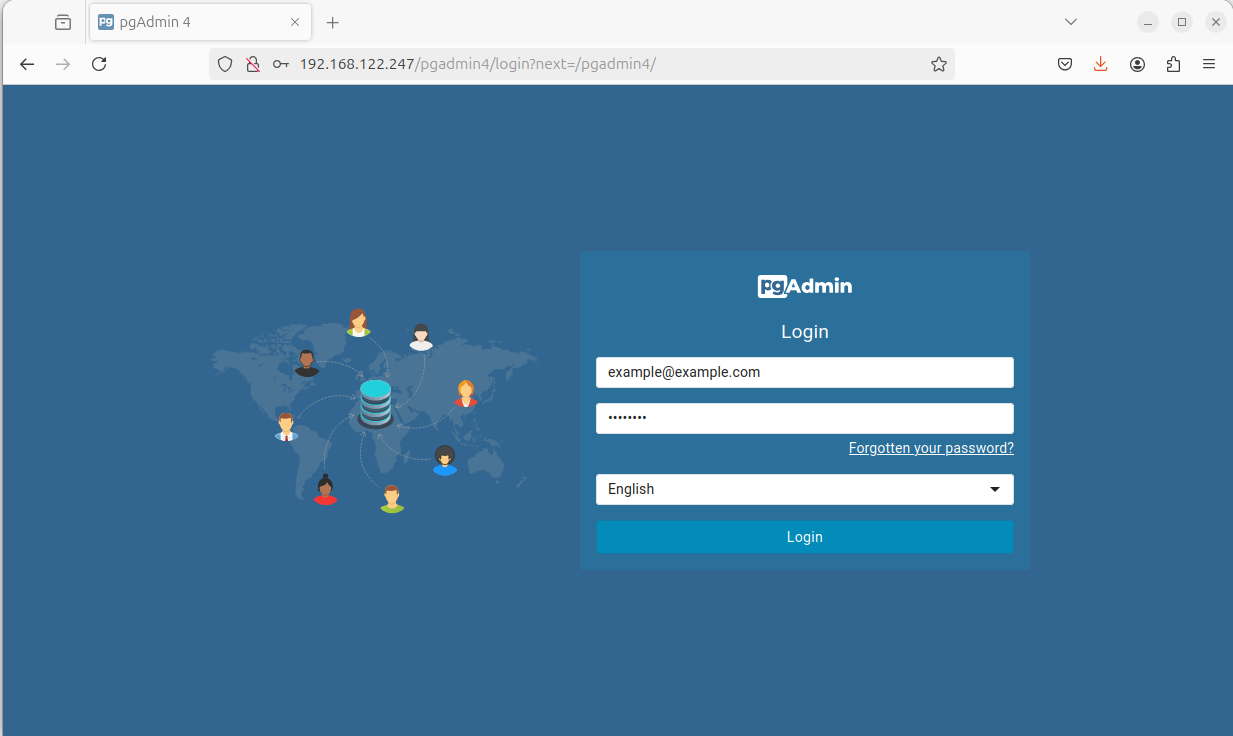
Log in using the email and password you set earlier.
Step 5: Connect pgAdmin to PostgreSQL Server
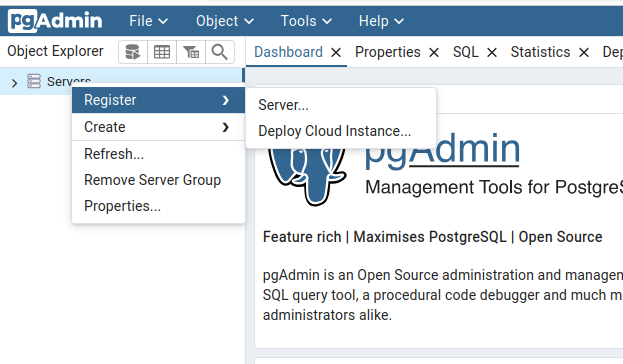
Once logged in, you'll need to register a new server:
- Right-click on Servers in the left panel.
- Select Register > Server.
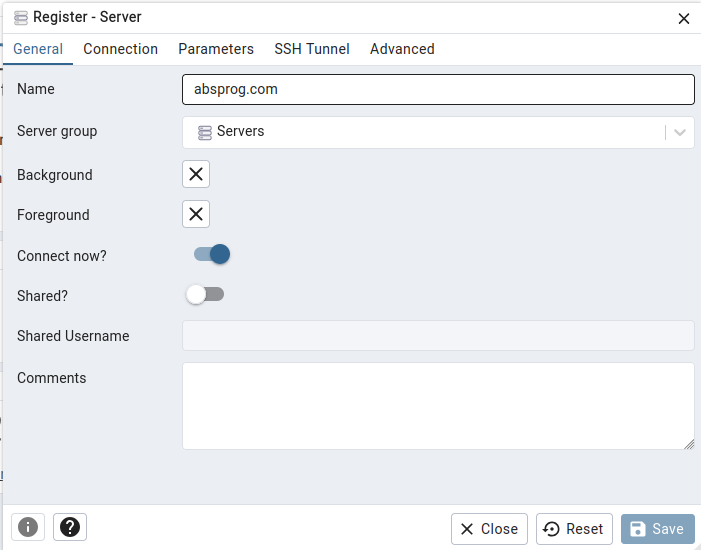
In the General tab, provide a descriptive name for your connection:
Switch to the Connection tab and enter the following details:
- Host name/address:
localhost - Username:
postgres - Password: The password you set for the
postgresuser.
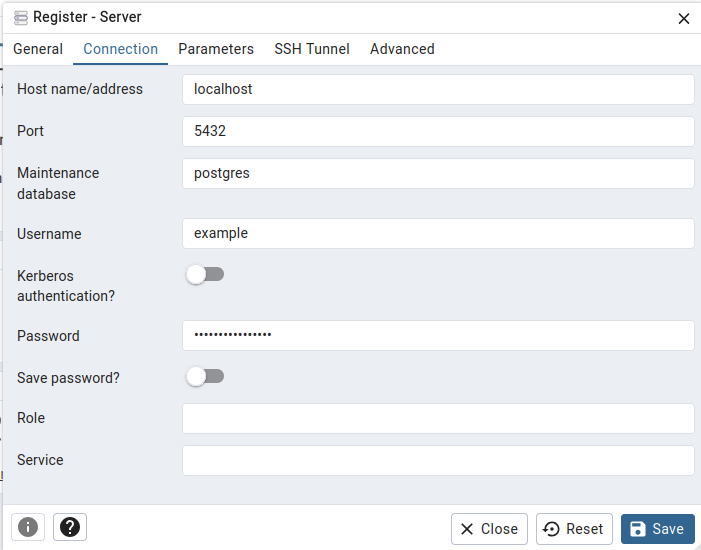
Click Save to establish the connection.
Step 6: Explore Your Databases
You are now connected to your PostgreSQL server. In the left panel, expand Databases to view existing databases. Under each database, you can explore schemas, tables, and other objects.
Conclusion
You've successfully installed PostgreSQL and pgAdmin on your Ubuntu server. You can now use pgAdmin's graphical interface to manage your databases efficiently.