How to Enlarge Disk Size for a Qemu/KVM Virtual Machine
Last update: October 10, 2024
Follow the steps below to increase the disk size of a Qemu/KVM virtual machine managed in the virt-manager GUI. These instructions include resizing the disk and expanding the partition to make use of the additional space.
1. Turn Off the Virtual Machine
Start by shutting down the virtual machine you want to resize. This ensures that no data is being written to the disk while you perform the resize operation.
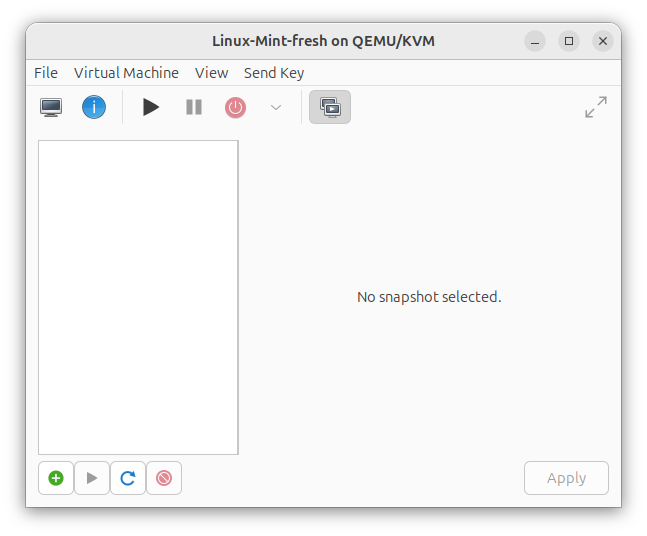
2. Check for Snapshots
Before proceeding, make sure that the virtual machine has no snapshots, as resizing a disk with snapshots can cause issues. Open the snapshots view of the VM and delete any existing snapshots.
3. Open Machine Details
In virt-manager, open the machine details for the VM whose disk you're expanding.
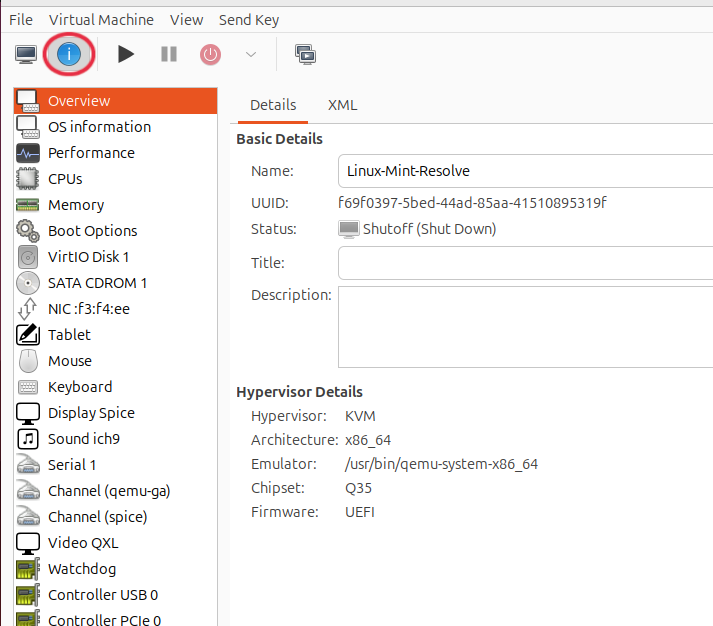
4. Select 'VirtIO Disk 1'
Once you're in the machine details, choose VirtIO Disk 1 from the available hardware options. Copy the 'Source path' of the disk—this will be needed later when resizing the disk from the terminal.
5. Resize the Virtual Disk
Now, increase the disk size by running the following command in your terminal. Replace
path-to-virtual-disk with the actual path you copied from the VM details, and change 20G to
the size you want to add:
sudo qemu-img resize path-to-virtual-disk.qcow2 +20G6. Restart the Virtual Machine
Once the disk has been resized, restart the virtual machine to proceed with resizing the partition to utilize the newly added space.
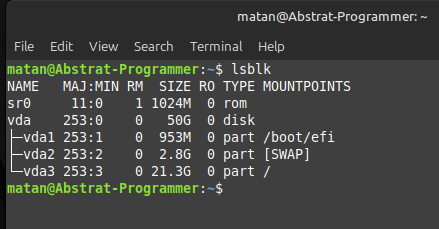
7. Identify Your Disk and Partition
After the virtual machine has booted, use the lsblk command to list the block devices and identify the
disk and partition you want to resize. As seen in the image below, my disk is vda, and the main
partition is vda3:
8. Install cloud-guest-utils
Install the cloud-guest-utils package, which includes the growpart utility. Run the
following commands:
sudo apt update
sudo apt install cloud-guest-utils
9. Grow the Main Partition
Use growpart to expand the main partition to fill the newly allocated space. Replace vda
with your disk name and 3 with your partition number:
sudo growpart /dev/vda 310. Resize the Filesystem
Finally, extend the filesystem to make use of the resized partition. Again, change vda3 to your
partition name:
sudo resize2fs /dev/vda3Once you've completed these steps, your virtual machine should have the increased disk space available for use.
